How to Build Your PC
1. Prepare Your Workspace
- Find a clean, static-free area.
- Gather tools (screwdriver, zip ties, etc.).
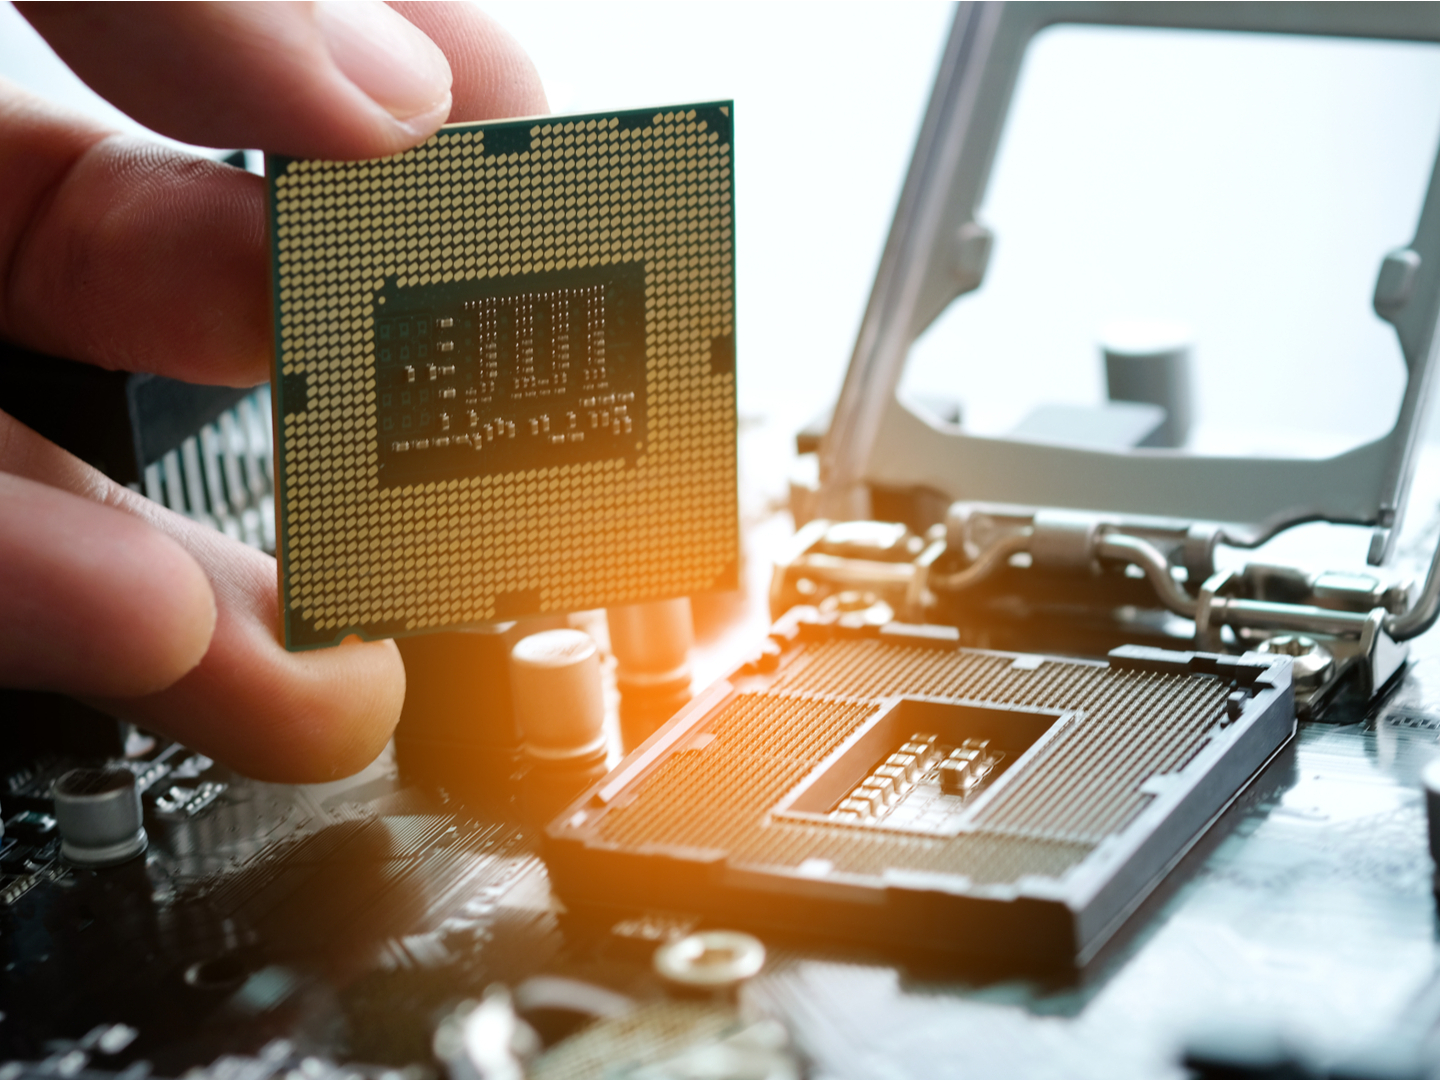
2. Install the CPU and Cooler
- Lay the motherboard down to a clean flat area.
- Carefully place the CPU into the motherboard socket. Align the rectangle marking on the socket with the CPU and follow the instructions in the motherboard’s guide.
- Apply thermal paste and attach the cooler.
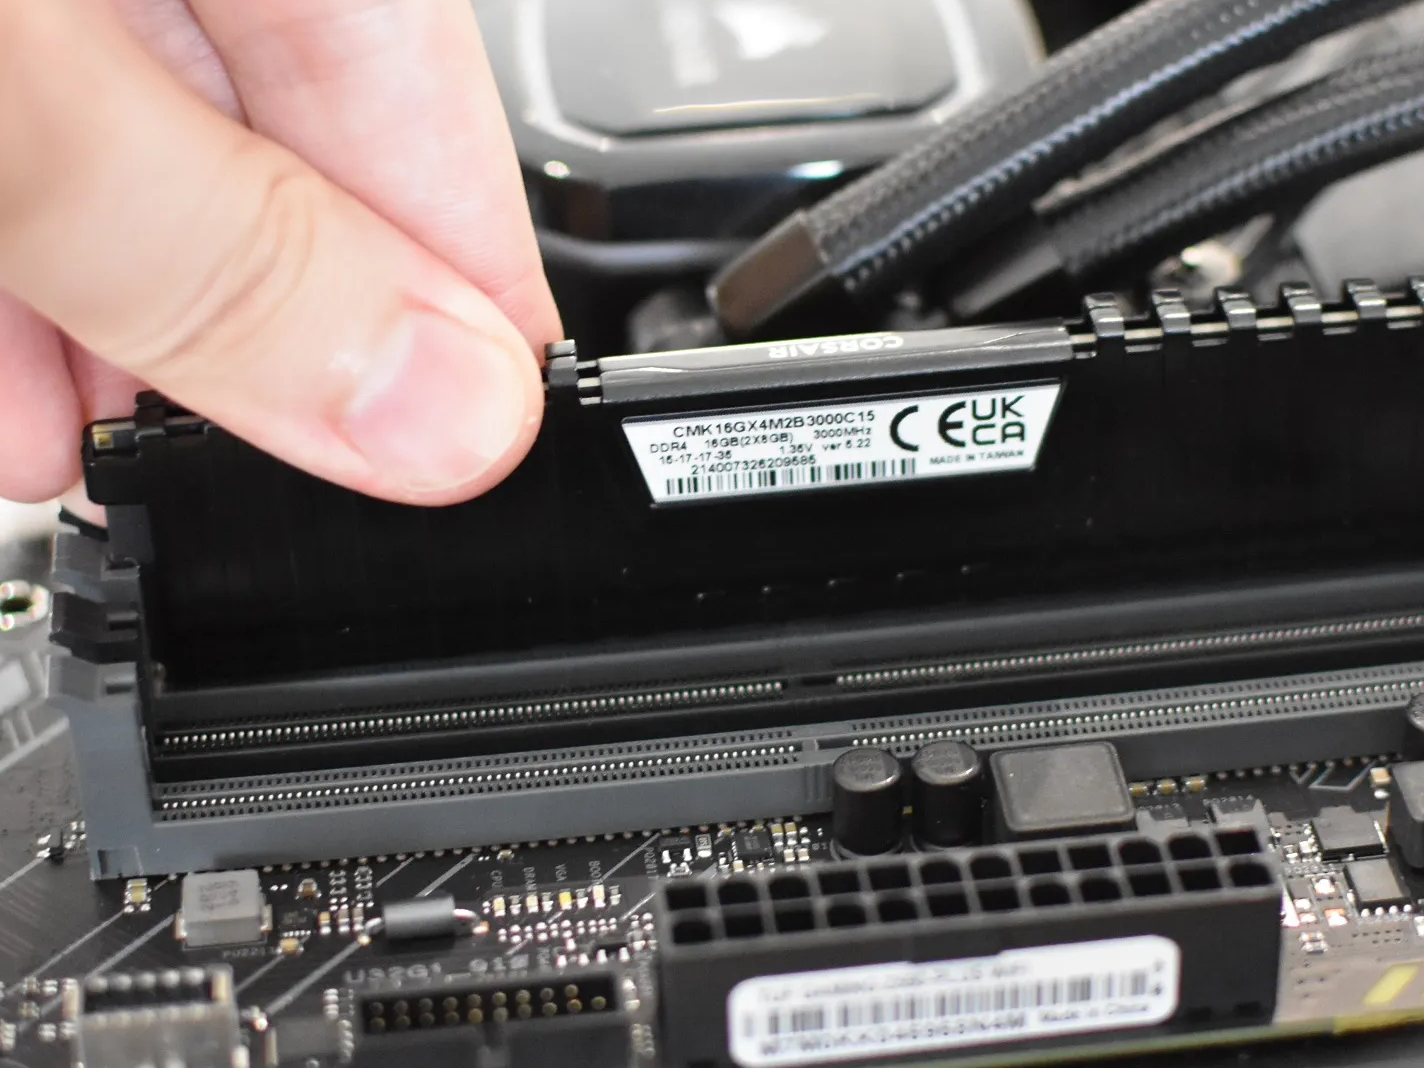
3. Insert RAM Modules
- Align and firmly press RAM into the motherboard slots.
- Find the right slots according to the number of RAM sticks you have. Follow the instructions of the motherboard.
- IMPORTANT! RAM sticks have a longer and a shorter connecting half. Find the correct orientation before inserting the sticks.
- Dislocate the hinges on both sides of the RAM slots and press in firmly until you hear a clicking sound.
4. Mount the Motherboard in the Case
- Secure the motherboard using screws. The screws should hold the motherboard firmly, but do not overtighten them, as this can damage the board.

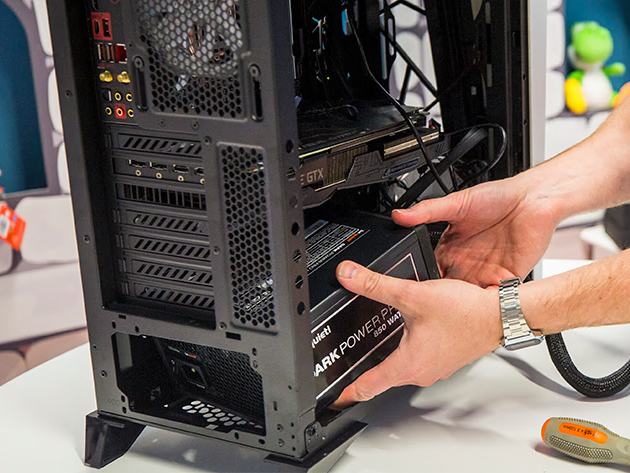
5. Install Power Supply
- The slot for the PSU is usually at the bottom of the case.
- Connect power cables to the motherboard and other components.
- Some video cards can have modified connectors; for that, use the included converters.
6. Attach Storage (SSD/HDD)
- Secure storage devices and connect data cables.

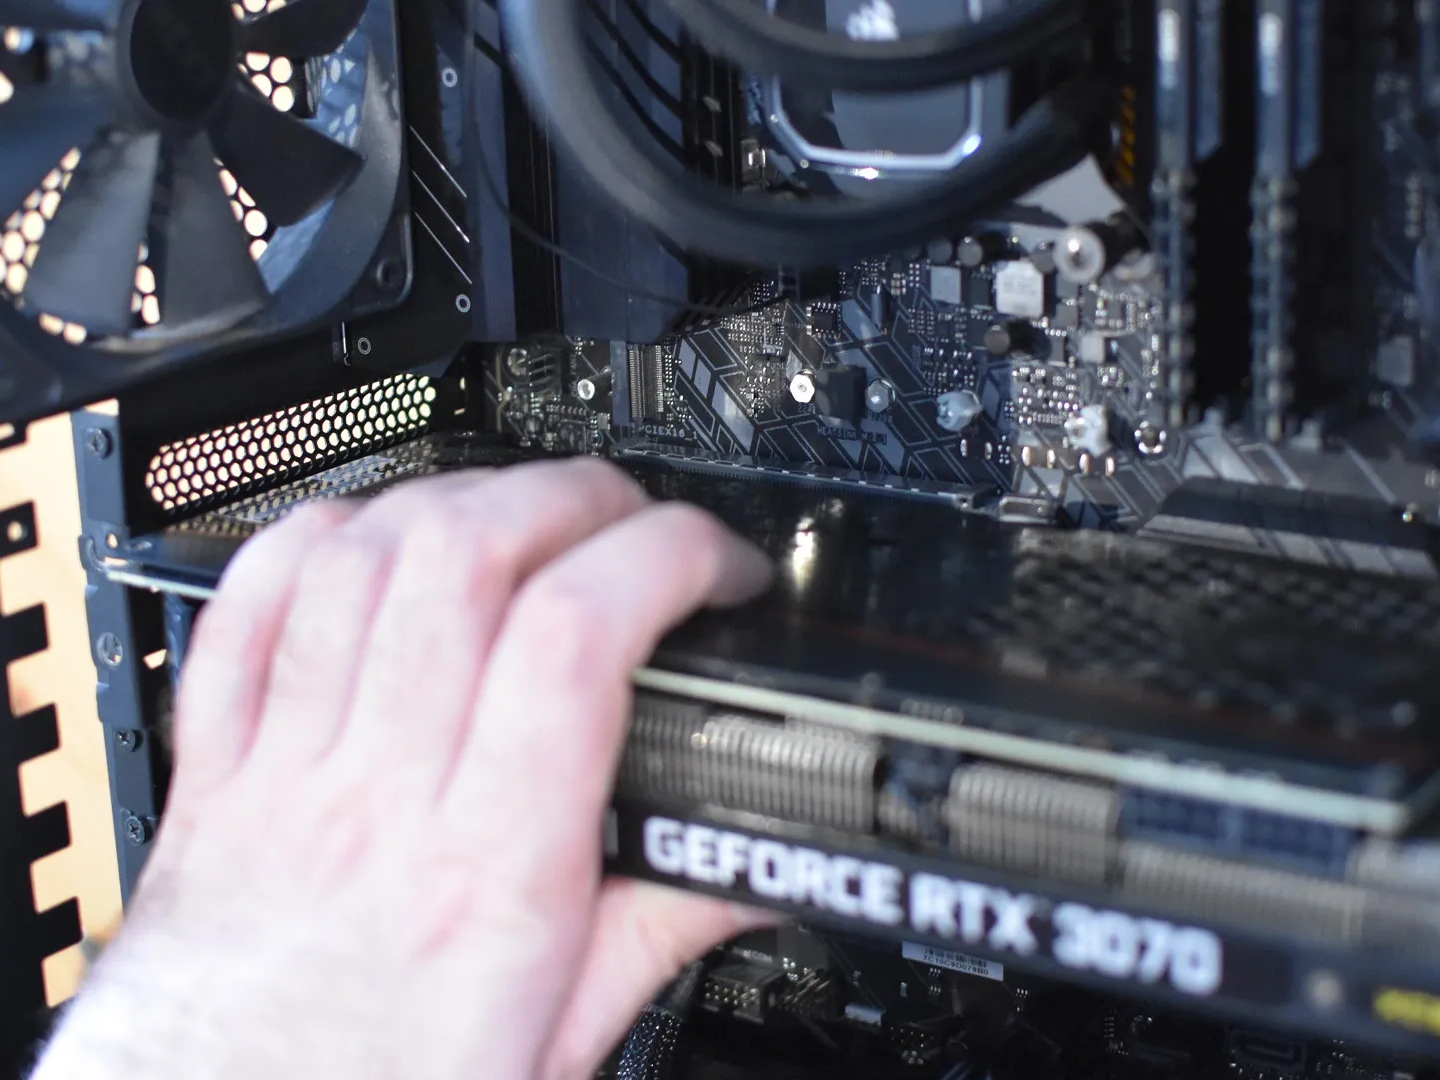
7. Install GPU
- Insert the GPU into the PCIe slot and secure it with screws.
- You are going to hear a clicking/popping sound as it connects to the motherboard.
8. Cable Management & First Boot
- Route cables neatly for airflow and connect peripherals.
- Power on the PC and check if it boots!
Video guide
Video transcription
0:00 — Jason welcomes viewers to his 2023 PC building guide.
0:05 — He assures beginners that building a PC is not as hard as it looks.
0:10 — He encourages viewers to like the video and subscribe for more tutorials.
0:15 — Jason mentions he’s included links to parts lists and compatibility guides in the description.
0:20 — He introduces the required PC components: CPU, motherboard, GPU, RAM, storage, PSU, case, and cooler.
0:25 — He notes that a single screwdriver is enough to complete the build.
0:30 — Jason explains that flexible screwdrivers are more convenient in tight cases.
0:35 — He shows Velcro straps and recommends them over zip ties for easier adjustments.
0:40 — Optional tools are shown: thermal paste, alcohol wipes, wire cutters, and a magnetic tray.
0:45 — He advises building on a non-conductive surface like a motherboard box.
0:50 — Jason warns about common build mistakes such as forgetting standoffs or using too much force.
0:55 — Step 0: Jason discusses the importance of BIOS compatibility and updates for newer CPUs.
1:00 — Step 1: He unboxes the motherboard and removes the IO shield if necessary.
1:05 — He demonstrates how to identify socket types (Intel vs AMD).
1:10 — He opens the socket latch and carefully places the CPU inside without applying pressure.
1:15 — Jason closes the latch and explains how to check for proper alignment.
1:20 — Step 2: He applies thermal paste to the CPU using an "X" pattern.
1:25 — He mounts the CPU cooler, tightening it evenly in a diagonal pattern.
1:30 — Jason explains how too much or too little thermal paste can affect temperatures.
1:35 — Step 3: He installs RAM sticks in the correct dual-channel slots with firm pressure.
1:40 — He demonstrates how the RAM clicks into place when inserted correctly.
1:45 — Step 4: He installs M.2 NVMe SSDs into the appropriate slots.
1:50 — He removes plastic film from the motherboard heatsinks before placing the SSDs.
1:55 — Jason discusses which M.2 slots are connected to the CPU vs chipset.
2:00 — Step 5: He opens the PC case and removes the side panels.
2:05 — He removes unnecessary drive cages and clears space for cable routing.
2:10 — He verifies that the correct standoffs are installed for the motherboard size.
2:15 — Step 6: Jason routes the CPU EPS power cable before placing the motherboard.
2:20 — Step 7: He carefully places the motherboard inside the case.
2:25 — He uses a magnetic screwdriver to install screws without overtightening.
2:30 — Step 8: Jason installs the power supply unit (PSU) into the bottom of the case.
2:35 — He connects the 24-pin ATX, EPS, and PCIe power cables to the motherboard.
2:40 — He demonstrates how to connect front panel headers using the case and board manuals.
2:45 — He adds SATA drives into a cage and connects data and power cables.
2:50 — Step 9: Jason installs the GPU in the top PCIe x16 slot.
2:55 — He secures the GPU with screws and attaches the PCIe power connectors.
3:00 — He ensures that all cables are tucked and secured for better airflow.
3:05 — Jason powers on the PC and shows the RGB lights and fans turning on.
3:10 — He checks for POST by connecting a monitor via HDMI.
3:15 — If the PC doesn’t POST, he suggests rechecking RAM and power connections.
3:20 — He explains how to update BIOS using a USB stick and BIOS Flashback feature.
3:25 — Jason reminds viewers to use FAT32 formatting and proper BIOS file naming.
3:30 — He shows pressing the BIOS Flashback button with only power connected.
3:35 — He waits for the flashing LED to indicate a successful BIOS update.
3:40 — Jason powers on the system again and verifies that it reaches BIOS setup.
3:45 — He gives final tips for installing Windows or Linux from USB media.
3:50 — He recommends running updates and installing chipset and GPU drivers.
3:55 — Jason thanks viewers for watching and reminds them to comment questions.
4:00 — The video ends with music, a thumbnail of the completed PC, and call-to-action links.